Process
Stage 1: Introduction meeting and starting a project
In our introductory meeting with the Chilli Pepper team, we prefer to have a video call to go over your project requirements in detail. This gives us a chance to introduce ourselves, understand your vision and brand, and answer any questions you might have.
During the call, we’ll give you an insight into our processes, review the project brief, go through the product/s to be created, discuss styling preferences, establish a project deadline, and cover all the details needed to prepare your quotation.
This meeting is essential to ensure we’re aligned with your expectations from the start, setting the stage for a successful collaboration. Once you approve the quotation, we’ll require a 50% deposit to begin the project. To schedule a meeting, you can contact us at info@chillipepperdesigns.co.uk or via the contact page on our website.
Stage 1: Introduction meeting and starting a project

Stage 2: Creating a 3D model
Stage 2: Creating a 3D model
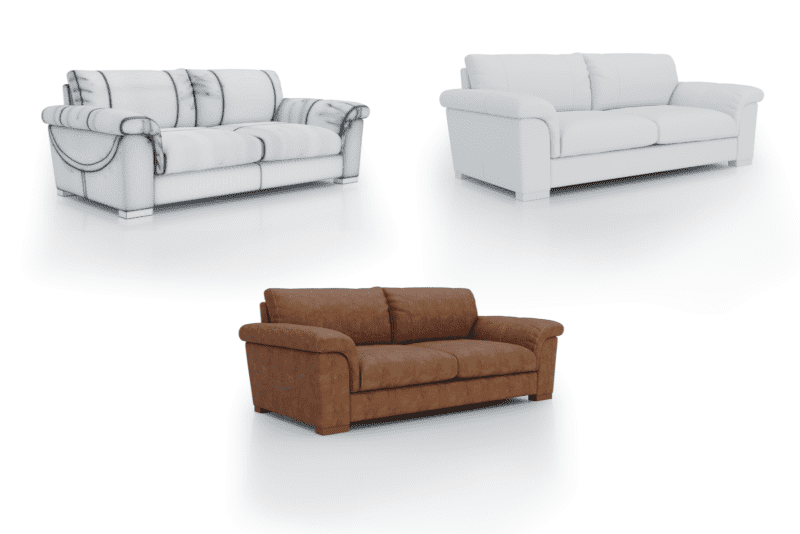
Creating 3D models involves several key steps to ensure accuracy and customer satisfaction. First, we gather high-resolution images of the product, detailed line drawings, and a swatch. These materials provide our 3D modeling team with the necessary references to create the model from scratch. If you don’t have detailed line drawings or high-resolution images, this is something we can discuss and assist with.
Throughout the modelling process, we compare the 3D model with the reference images to ‘spot the difference’ and refine the details. We share these comparisons with you, allowing for feedback and adjustments to ensure the final product meets your expectations.
We can also send you a model requirement guide to help you prepare the necessary materials. This collaborative approach helps us deliver high-quality, precise 3D models tailored to your specifications.
Stage 3: Concept and room planning
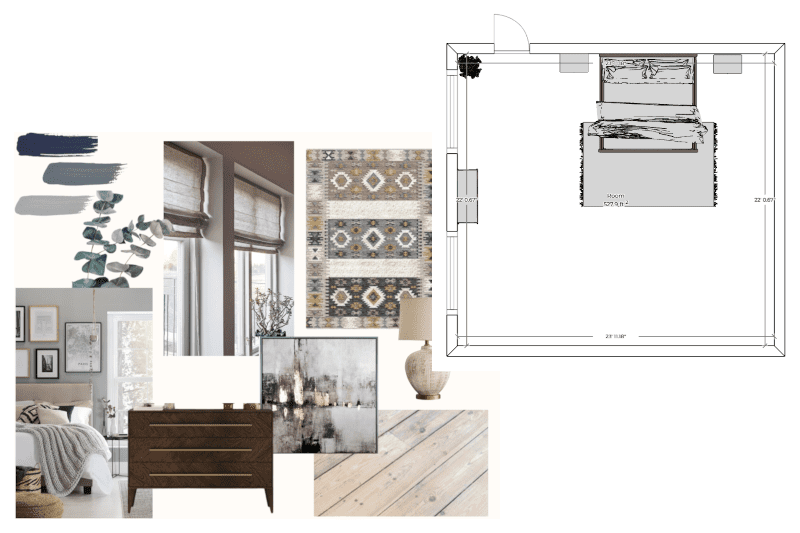
Creating a scene concept and room plan for a 3D scene begins with you providing a project brief and inspirational images that reflect your desired style.
We require some inspirational images, which you can find online, in magazines, or even from our own portfolio. If you’re unsure about the style, our interior stylists are available for consultations to help clarify your vision.
Based on your input, our stylists and designers will develop a mood board and a detailed floor plan, incorporating your products along with accessories and other furnishings.
This process ensures that the final 3D scene aligns with your aesthetic preferences and functional requirements, providing a comprehensive and visually appealing representation of the intended space.
Stage 3: Concept and room planning
Stage 4: Building the scene
Stage 4: Building the scene
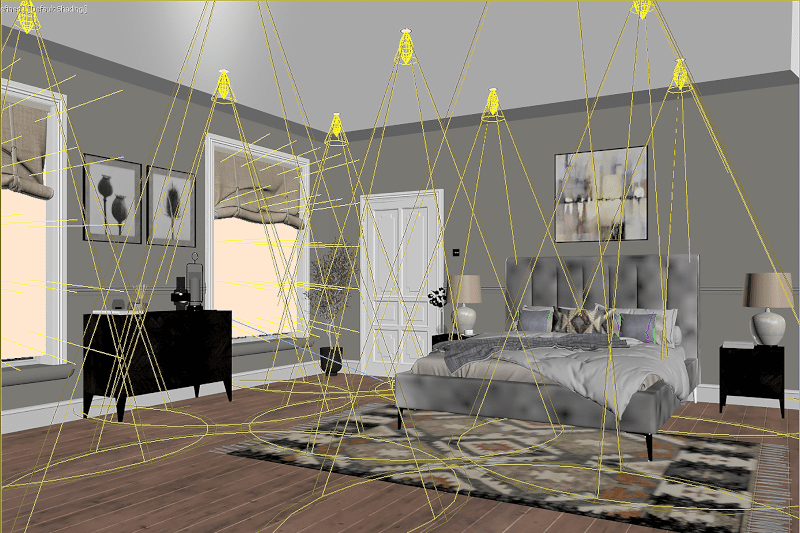
Creating a 3D scene based on the customer’s approved style concept is a collaborative effort between our CGI artists and interior stylists. The process begins with the approved floor plan as a foundation, where our CGI artists first construct the architectural elements of the room, such as doors, windows, skirting, and coving, according to the room’s style. Initially, the room is modelled as a clay scene, focusing purely on the geometry without textures or lighting. Once the structure is in place, textures are applied to all surfaces, bringing materials like wood, fabric, and stone to life. The interior stylist then works closely with the CGI artist to accurately position furniture, accessories and decor elements within the scene.
Following this, lighting is meticulously added, combining artificial light sources and natural sunlight, adjusted to reflect the desired time of day. This careful attention to both materials and lighting ensures that every aspect of the scene aligns with the customer’s vision, resulting in a highly detailed and realistic 3D representation of the approved concept.
Stage 5: Photography angles and cut-outs
Once the 3D lifestyle scene is developed, we will send an initial low-resolution draft to the customer for review. This draft will feature the full range of furniture and include the main lifestyle view, cameos, and close-up shots showcasing the products in an exciting, photorealistic way. If needed, we can also provide ecommerce white background cut-outs of each product.
Throughout the process, our interior stylist and CGI artist work closely together to craft compelling photography angles that highlight the space and products in the most visually appealing way. The customer can request up to three amendments, which we typically address within 24 hours. Additionally, if specific photography angles are desired, we can adjust the scene to match those preferences.
This collaborative and iterative approach, blending the artistry of interior styling with the precision of CGI, ensures the final 3D scene perfectly captures the customer’s vision, delivering a stunning and realistic result.
Stage 5: Photography angles and cut-outs

Final Stage
Final stage
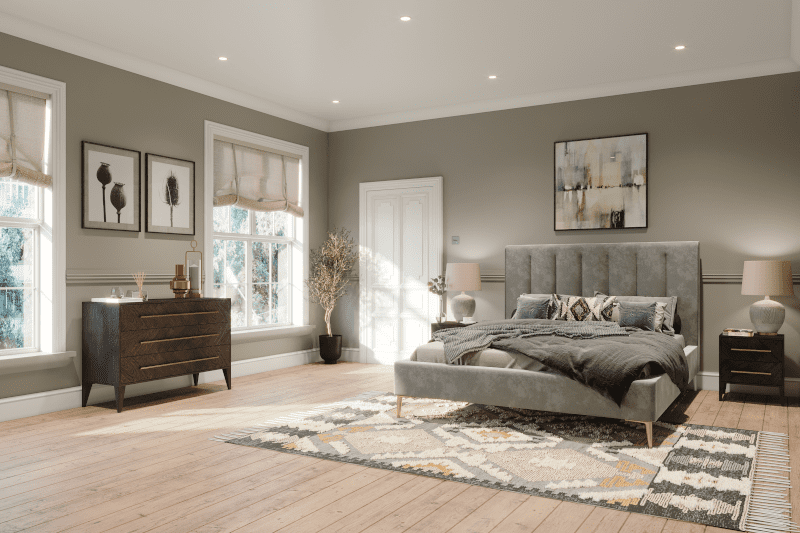
In the final stage, after the customer settles the final invoice, we proceed to render the images to their exact specifications. We will also arrange a meeting to review the completed project and obtain the customer’s sign-off, ensuring that all details are accurate and meet their expectations.
This final step ensures the project meets with the customer’s complete satisfaction. Once approved, the customer can use the high-quality images for ecommerce, their website, and any marketing materials.
We can provide the final images in a variety of formats, from JPEG to TIFF, depending on customer needs. Our team is always happy to help with any uncertainties regarding image formats.
Additionally, the 3D model and scene can be re-used and adapted for future projects, offering flexibility if the customer wishes to update or expand their visuals.
Finally, we will always ask for permission before using any images for our own marketing purposes, clearly explaining the reason for their use.
